Step 8: Leather.
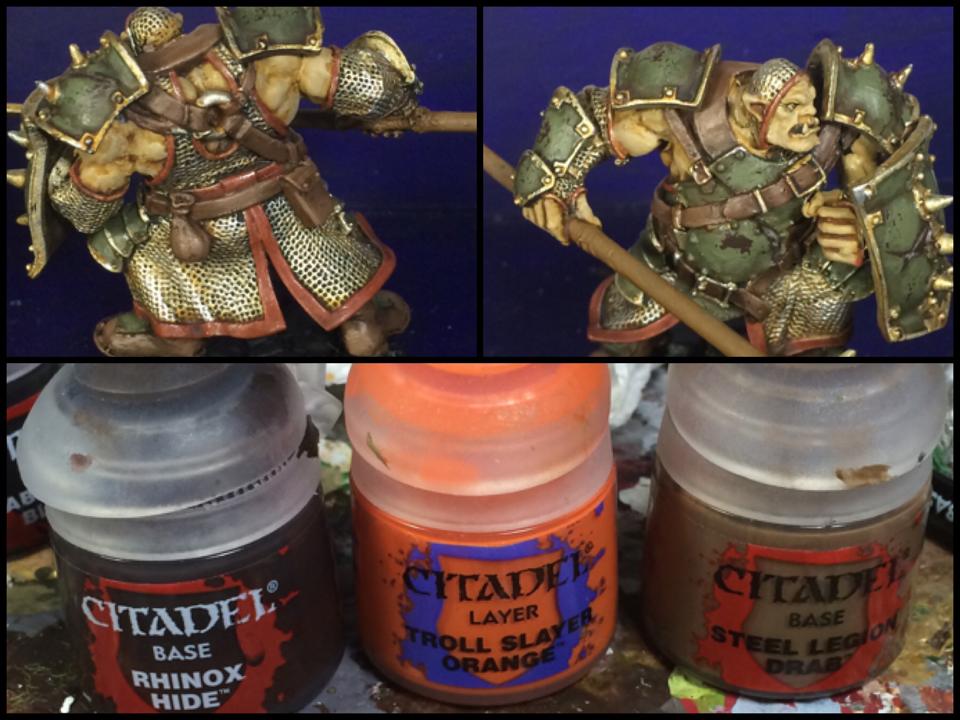
I do a 50/50 blend for my base leather color. Let’s call that leather brown. I then do 50/50 leather brown/orange. That is my base highlight. for edging and highlights, I mix another 50% of that pool as steel legion drab. I you can see a mini tutorial here(click me) but I paint wet so that is hard to photograph. I may in the future do a leather tutorial.
Step 9: metal exposed in large paint flecks.
Not much to say, tap your brush tip in the larger spots where you would have exposed metal in the paint flecks.
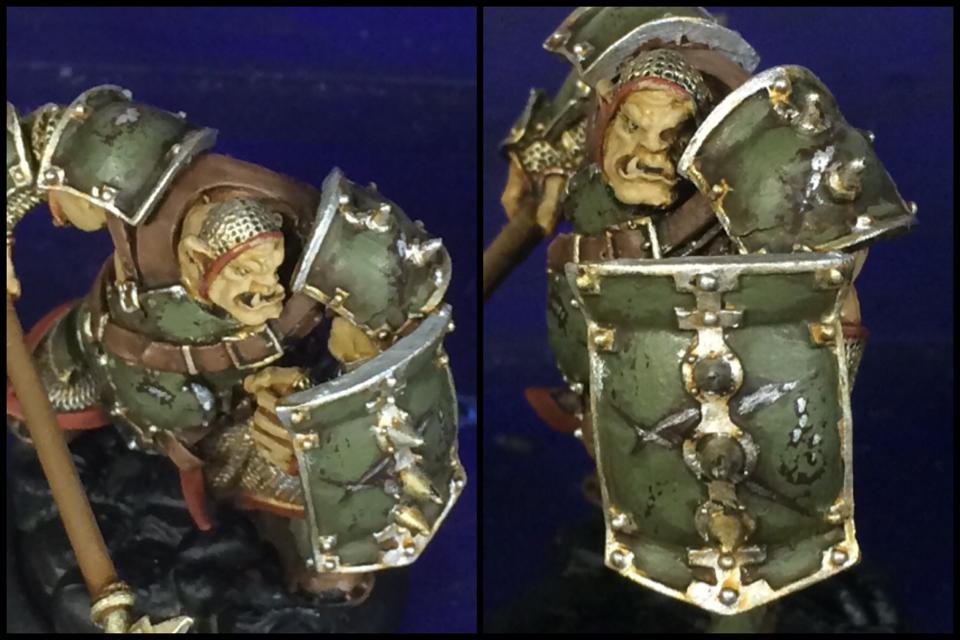
Step 10: black wash to make things pop
This is a hard thing to describe as it requires a lot of practice. I use black paint mixed with water to create a wash. If you are not familiar with creating washes with basic paint, just use the gw nulin oil. Trace the groves along details that you want to “pop” such as the edge of the filigree and and the leather straps. Compare this image to the one from step 9 and you will see what I am doing.
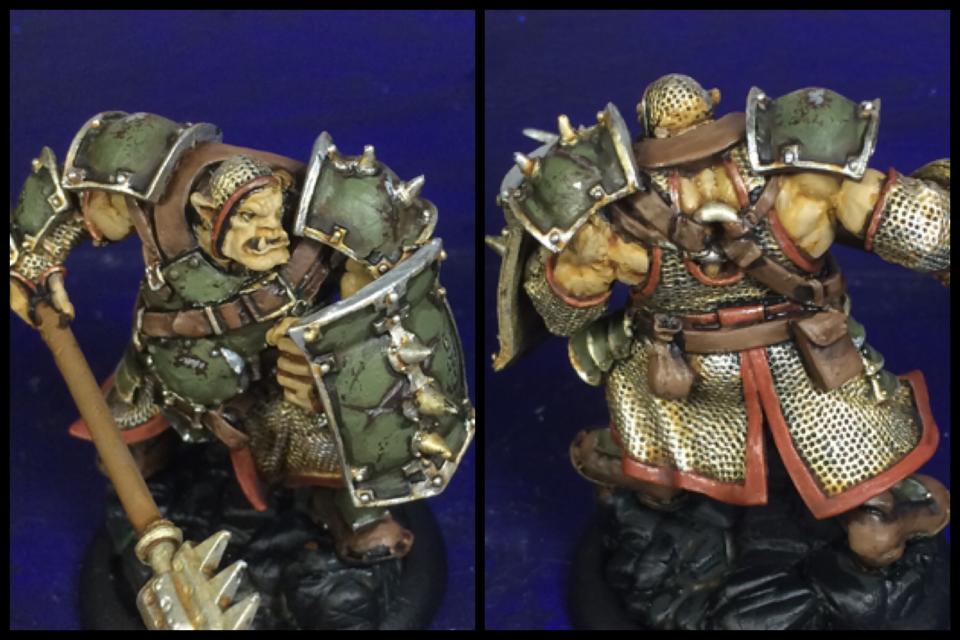
Step 11: Cloth highlights.
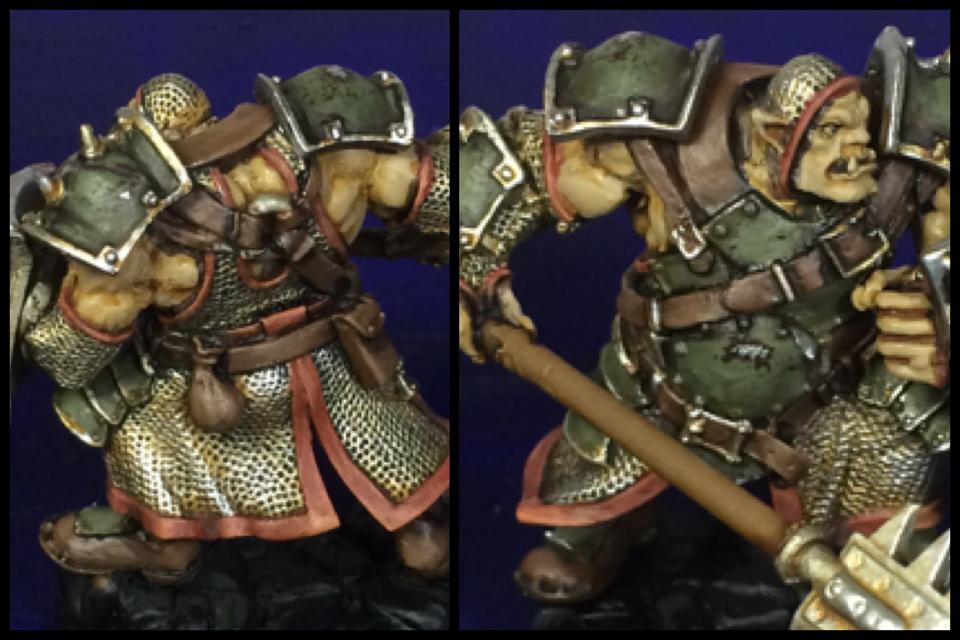
Cloth is last. I used the old Gamesworkshop terracotta for my base color and then used ratskin flesh to do edge and highlights.
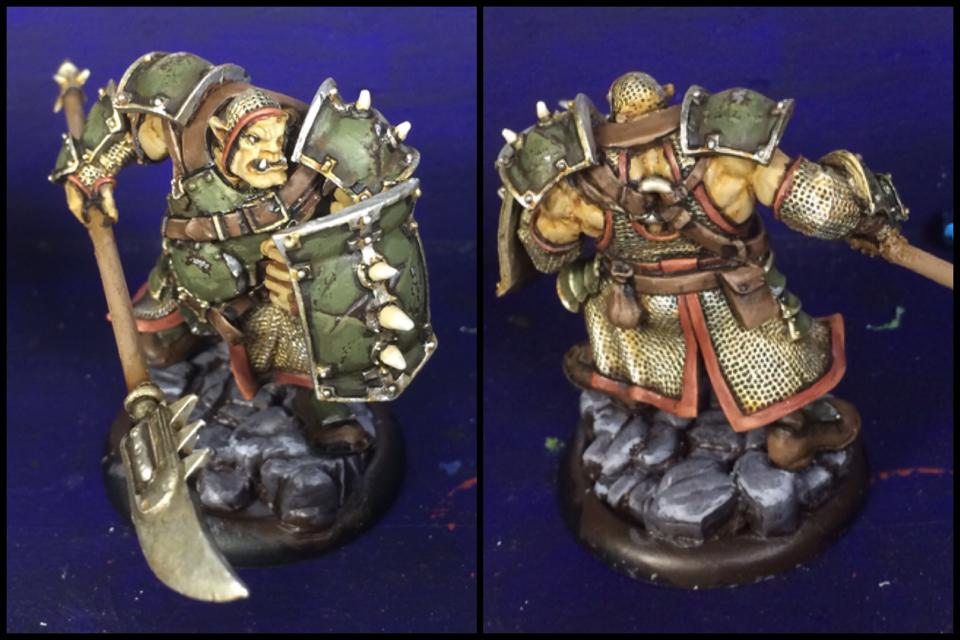
Step 11: Finalization

Lots of quick small steps here. Highlights along the edge of the paint flecks. highlights on the edge of the leather. The rocks on the base is just enshin grey walking up to the bright highlight. the skin is just a highlight using the color i originally used as a base(seraphim sepia is that dark).