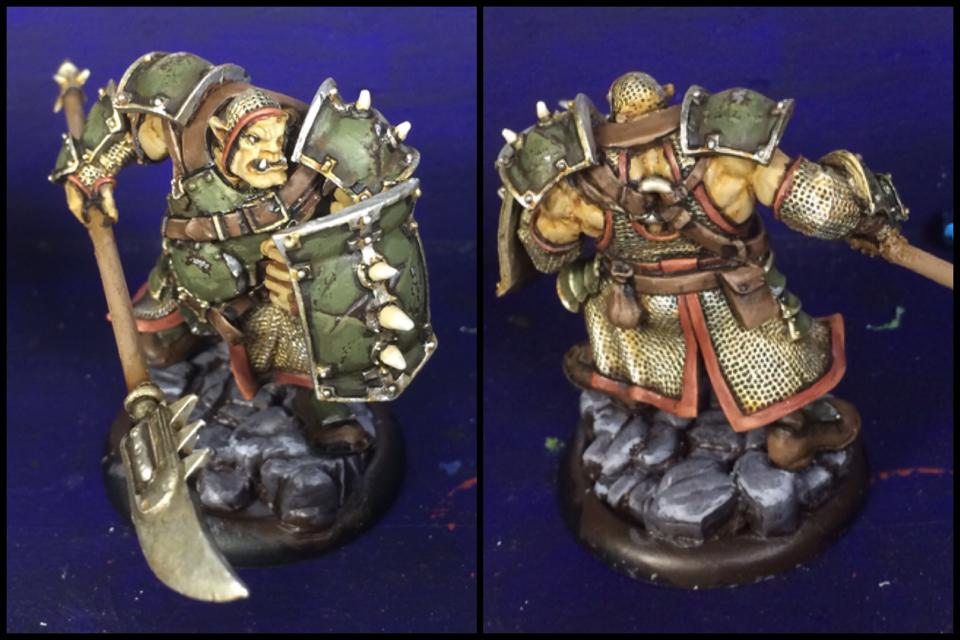
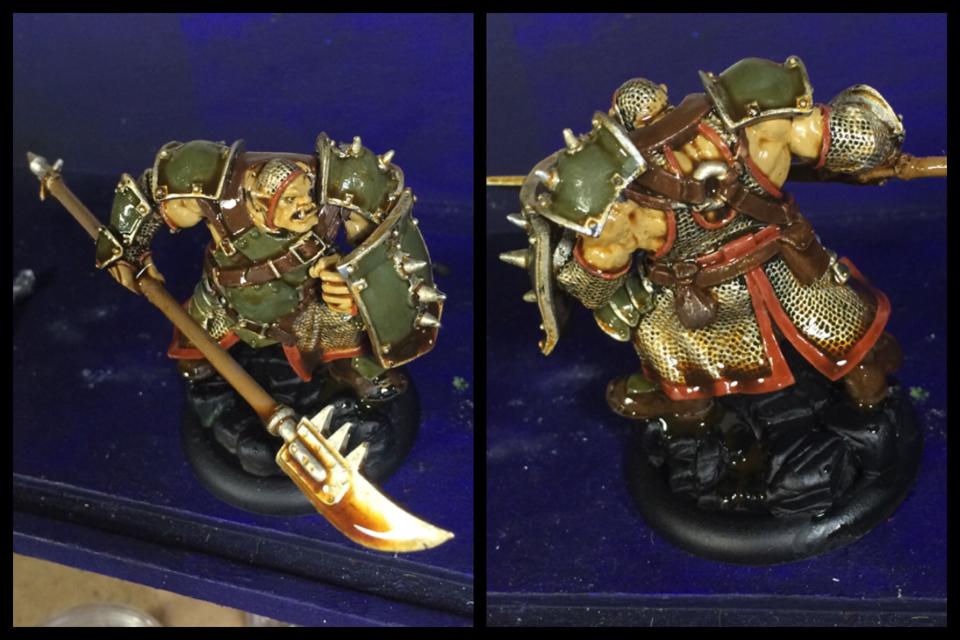
I want to preface this with the fact that I am NOT the best of painters. I still could spend more time on these models but I paint to paint quickly. For those of you who might find this model impressive, I HOPE that by sharing this, your model can come out this way as well.
Step 1, prep.
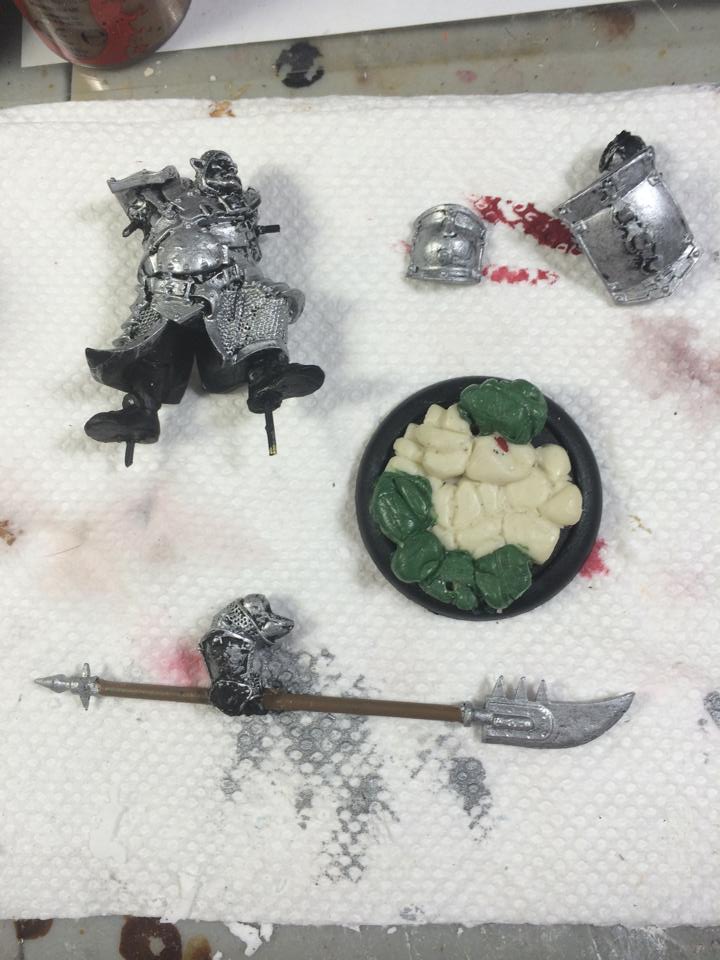
This was a used model, the person sold it to me as part of an army that he apparently was bored with. I soaked the model in Pinesol and then using a toothbrush to scrub off the excess.
The model base uses a resin cast of some green stuff rocks I made a while back. Green stuff is expensive, making molds saves me a lot of money on all my models. If anyone wants, I can try and give a tutorial on casting your sculpted part of your base to save you all some money!
Metal minis with pole arms bend. I drilled through the hand, pommel, and blad, then placed a brass rod with brass tube for the pole arm. Again, if interested, I CAN make a tutorial for that in the future!
On new models, they have “mold release” which is a dust that means your primer might not stick very well. Be sure do to a wash of each part in warm soapy water, use a tooth brush to scrub the model well. After you wash each part, be sure to dry them gently with a towel.
Step 2: base coat.
I prime with black and do a base coat as my first step. This allows me to establish where I want different colors as I use a wash on the entire mini, I need to have all my colors established. Most minis I see stop right here. others never finish this part. As bad as this looks right now, it will look much nicer after it is completed. So be sure to take your time and don’t worry, we’ll look good in the end.
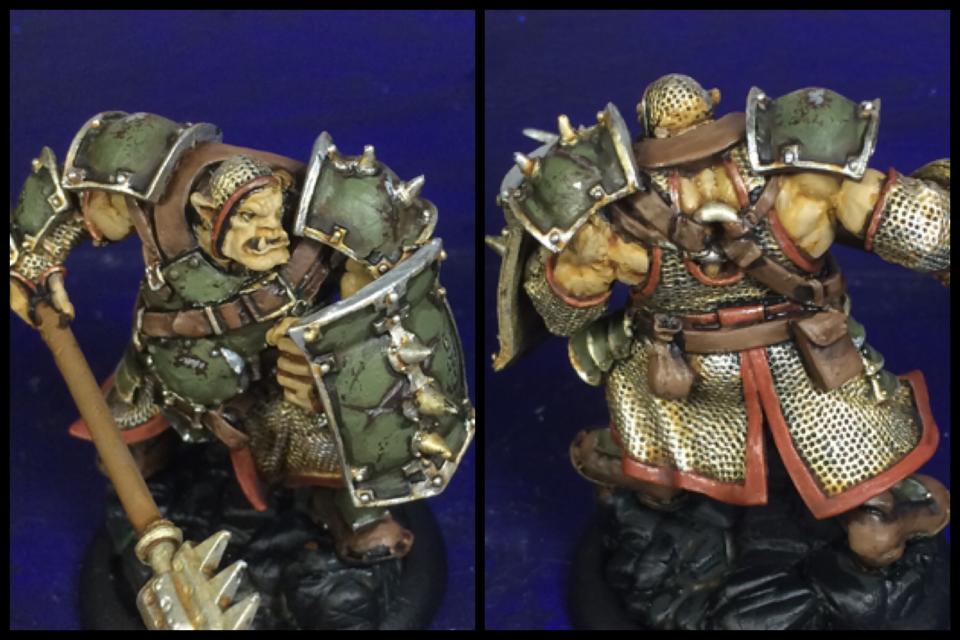
Step 3a: “Wash”
I grew up around my grandmother who always painted ceramics. GamesWorkshop produces this wash called seraphim sepia, it is very similar to the “stains” my grandmother used. I really do just put it across the entire model. it is somewhat wasteful but this is fast.
Step 3b: “Wash” cleanup

You will want to take a paper towel and dab off the excess compare this and the above image, you will see in areas like the spear tip I have reduced the pooling.
Step 3c: do something else and let it dry!

like seriously, go outside, stretch, watch a movie, do something else.
Step 4: Battle damage.
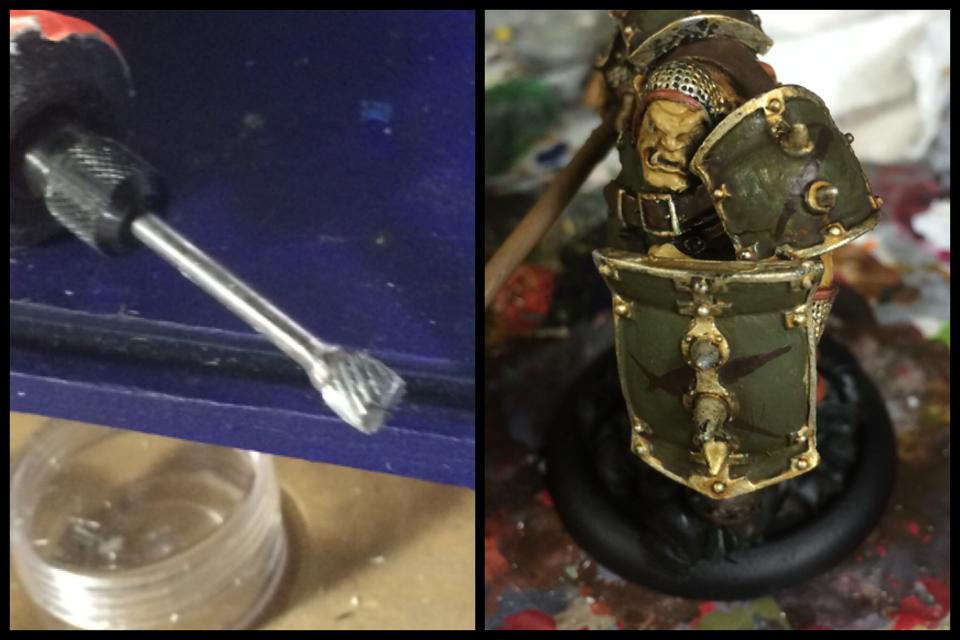 Normally, I take a dremel cutting bit or my hobby knife and gouge out a few scratches before I even prime the model. I didn’t do it this time, cutting gouges out would have weakened the shield. so I just drew the lines where i would have put some damage.
You want to go only a little darker with the color of choice. if you are doing white damage, do not go darker than brown or you will will create too much contrast.
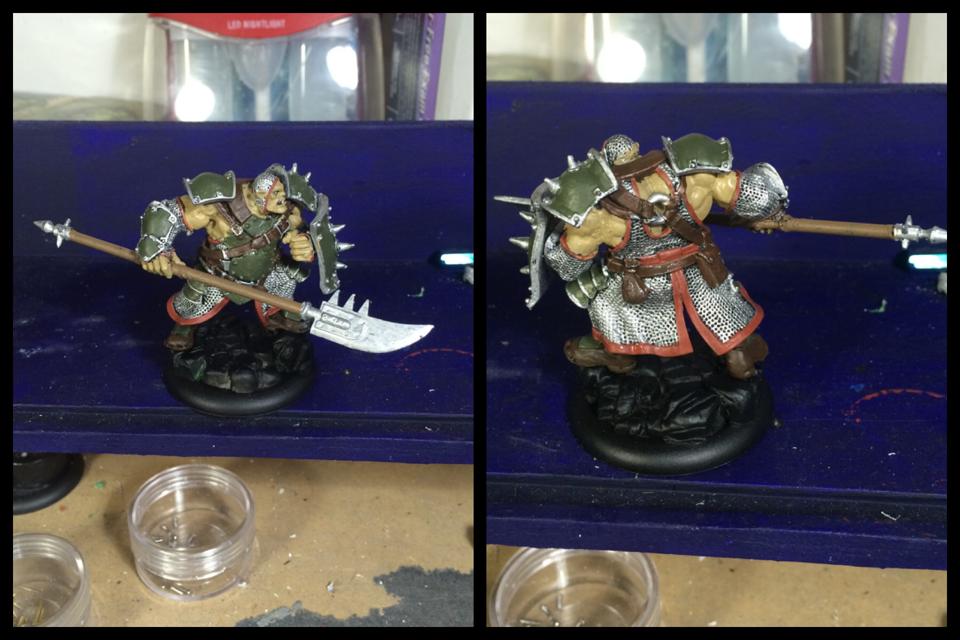
Step 6: metal touch ups
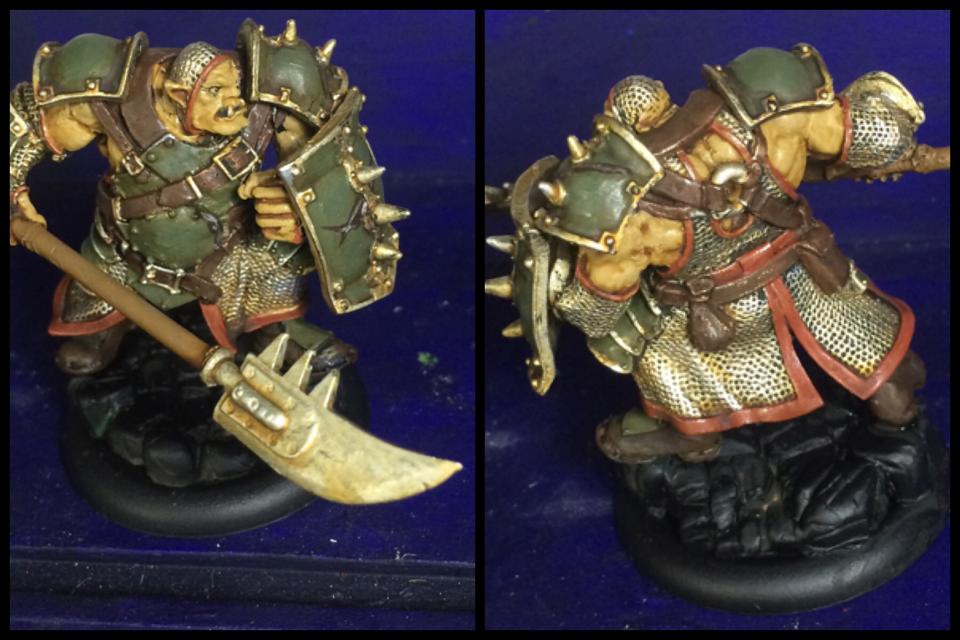
Dry brushing is messy, so you want to do this before you go doing any highlights to your base colors, leather etc. You will want to dry brush your metal and touch up any metal spots you missed in your base coat. Don’t worry about losing any rust from your earlier wash, it’ll be taken care of.
I painted some silver lines in the brown to create some exposed metal.
Step 6: Armor Highlights 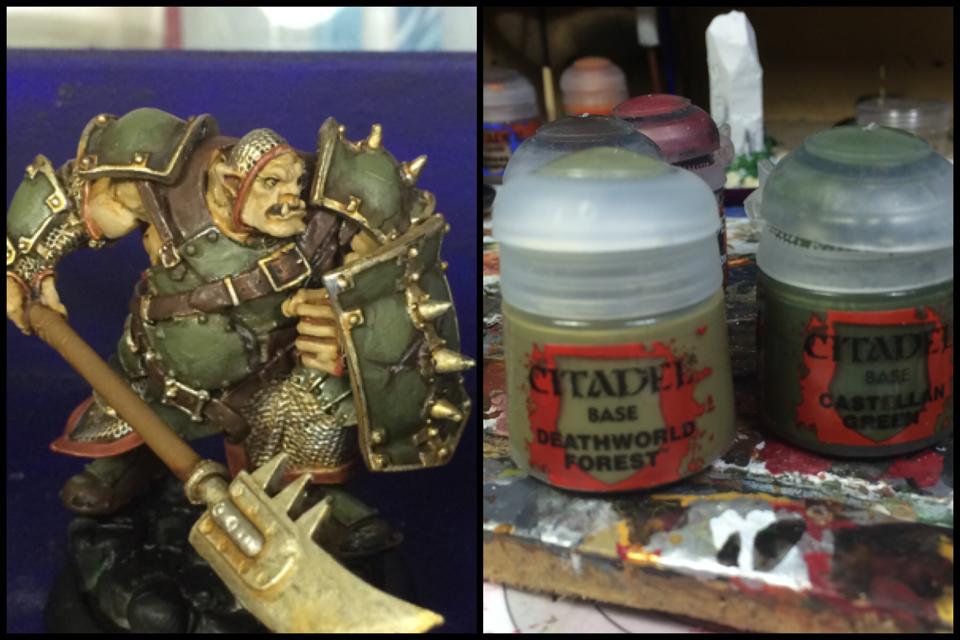
Using a 50/50 mix of your base color and your highlight color, highlight the painted portions of your armor.
Step 7: Paint flecks.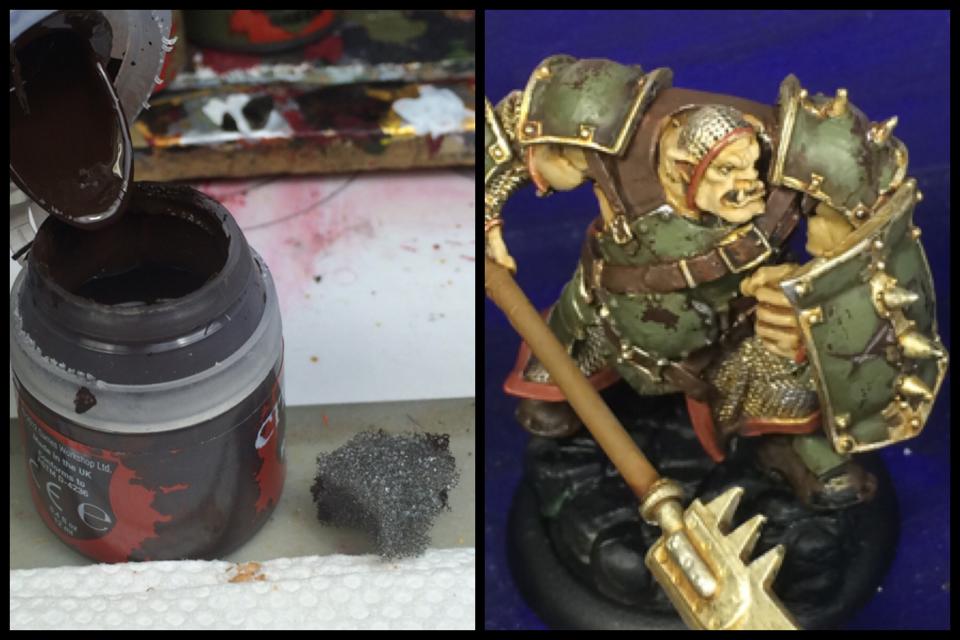
So I had been seeing this cool paint fleck thing for a while on the net. I took a 10 year break and honestly, coming back there are so many new techniques. Essentially that bit of foam that comes with your model is pretty much all you need.
This will be continued in part2 🙂